How to Build a Coaching Website: A 10-Step Tutorial
Here is how to build a coaching website in ten steps: decide the one thing the site must get visitors to do, write a one-sentence promise, pick a platform where booking and payments live with the pages, buy your domain, gather your photos and proof, choose a template and map five pages, write the homepage in a fixed order, connect booking and checkout, add one way to stay in touch, then set up search basics, test on your phone and launch. Most coaches can do it across two weekends.
This is the hands-on tutorial. For what each page should say, our pillar guide to the coaching website goes deeper on pages and copy, and coaching website design covers layout, type and colour. And if you would rather not build it at all, Coachful's team will build the site for you at no extra cost; the request form is at the end.
Step 1: Decide the one action your coaching website exists for
Every page gets easier once you know what a good visit ends with. For most coaches it is one of three things:
- Book a call. Best when your offers are personal and priced high enough to need a conversation.
- Join a list or download a free resource. Best when people need time to trust you, or you sell to a cold audience from social media.
- Buy directly. Best for a fixed-price offer: a single session, a course, a group program with a start date.
Pick one as primary and at most one as secondary. Write it on a sticky note: "Every page ends with: book a free 20-minute call. Second choice: get the values worksheet." You will use that note in every step that follows.
Step 2: Write a one-sentence promise and test it
Before any design, write the sentence that goes at the top of your homepage. A reliable shape is I help [who] [get what outcome] [without what they dread or by what method].
- "I help new managers in tech run their first team without working weekends."
- "Coaching for women in their forties rebuilding after divorce, one steady week at a time."
- "Nutrition coaching for busy parents who are done starting over every Monday."
Test it on two people who fit the description. Read it aloud and ask them to say back who it is for. If they cannot, it is too broad or too clever. Fix the sentence now; changing it after the site is built means rewriting every page. Our article on building a coaching brand clients remember helps if you are stuck on the who.

Step 3: Choose where your website will live
The platform decision is really a decision about where your bookings, payments, emails and client records live. There are three honest routes:
| Route | You get | You also need |
|---|---|---|
| A general website builder | Maximum design freedom | A scheduler, a payment tool, an email tool and something for client delivery, connected by hand |
| A coaching platform with a website built in | Pages, booking, checkout, email and the client side in one account | To work within its templates and sections |
| A designer or agency | A bespoke look and someone else's time | A platform underneath it, and a plan for who edits the site later |
Ask one question of any option: when someone books from my homepage, where does their name, their payment and their intake form end up? If the answer is "three places", you will be copying data by hand within a month. Our comparison of platforms to build a coaching website covers each route in more depth, and our guide to what a coaching website costs prices them up.
The rest of this tutorial shows each step in Coachful, where the website, booking, offers, funnels and email share one account, but the steps work on any platform.

Step 4: Buy your domain
Buy the domain yourself, from a domain registrar, in your own name, so it stays yours whatever platform you use later. A few rules that save regret:
- Use your name if you are the brand (firstnamelastname.com), or a short business name if you plan to hire coaches.
- Avoid hyphens and numbers. You will say this address out loud on podcasts.
- Prefer .com where it is available, or your country's domain if your clients are local.
- Turn on auto-renew. Losing a domain over an expired card is a surprisingly common way to lose a business's search history.
In Coachful, your site starts on a coachful.co address and moves to your own domain when you connect it: the website settings show the A and CNAME records to add at your registrar, then check them and mark the domain verified. You can do this on launch day, after the site is ready.
Step 5: Gather your raw materials first
Most website projects stall here, halfway through a page, waiting for a photo. Collect everything into one folder before you open the builder:
- Two or three real photos of you, one where you look at the camera and one where you are working. A phone photo in good daylight beats a stock image every time.
- Three testimonials with the client's permission and first name, ideally each naming a specific change.
- Your offers: name, who it is for, what is included, length, price and payment options.
- A short bio in two versions: three sentences for the homepage, three paragraphs for About. Our about me page guide has sample drafts.
- Five questions people ask on discovery calls, which become your FAQ.
- Your logo and one brand colour, if you have them. If you do not, a well-set name in a good typeface is enough to start.
Step 6: Choose a template and map your pages
Start smaller than you think. A five-page site that is finished beats a twelve-page site that is "nearly ready".
| Page | Its one job | Starter site |
|---|---|---|
| Home | Say who you help and get the primary action | Yes |
| About | Make you trustworthy and specific | Yes |
| Work with me | Show two or three offers clearly | Yes |
| Book a call | Let people pick a time without emailing you | Yes |
| Contact | Catch people who are not ready to book | Yes |
| FAQ | Answer the questions that stop bookings | Add next |
| Blog or newsletter | Bring people back and help you get found | Add next |
| Privacy and terms | Legal basics, linked from the footer | Before launch |
Pick a template made for your kind of coaching, so the type, colour and structure already suit your audience. In Coachful, open Website and use Start from a template: there are 30 designed homepages on five shelves (business, wellness, performance, creative and life). Applying one fills it with your business name, real offers, prices, testimonials and booking links, and turns your logo and accent colour into the design. It opens as a private draft, and nothing changes on your live site until you choose Make this my homepage. Fifteen template families include matching About, Services, Pricing, FAQ, Contact, Book a call and Newsletter pages, so your starter site is one design from top to bottom.

For inspiration before you choose, see our list of the best coaching websites and what each does well.
Step 7: Write the homepage in this order
Write the homepage section by section, top to bottom, and do not move on until each section does its one job.
- Hero: your promise from Step 2, one supporting sentence, the primary button, and a photo of you.
- The problem: three or four lines in your client's words. "You've read the books. You still lie awake on Sunday night."
- How you help: your method in three steps, each with a short name.
- Offers: two or three cards, each with who it is for, what is included and a button.
- Proof: your three testimonials, placed right before a button.
- About, briefly: three sentences and a link to the full About page.
- FAQ: the discovery-call questions from Step 5.
- Final call to action: repeat the primary action, with one line on what happens next ("a 20-minute video call, no pitch").
In Coachful you edit the words and links directly on the page, add a section between any two template blocks, and every section you add takes on the template's fonts and colours. If the template's sample copy is not quite you, the AI copy option rewrites the remaining sample words in your voice and writes an SEO title and description. Edit what it writes; you know your clients better than any model.

Step 8: Connect booking and payments
A coaching website that sends people to email you for a time loses most of them. Set up the booking before you launch:
- Create the session type for your primary action, for example a free 20-minute call, with its length, buffers before and after, and minimum notice.
- Set your availability and connect your calendar, so busy times disappear automatically. Coachful syncs two-way with Google, Apple and Outlook calendars and shows times in the visitor's own time zone.
- Add two or three intake questions to the booking, such as "What made you book today?" The answers land on the person's record before the call.
- Decide the video link: built-in video, or Zoom, Google Meet or Teams links created automatically.
Then the offers. Each Coachful offer gets its own page with the checkout built in: a one-time price, a subscription or a payment plan, with Apple Pay and Google Pay, paid to your own Stripe or Razorpay account with a 0% platform fee. Add a booking calendar section to your homepage and every Book a call button on the template points at your real booking flow.


Step 9: Give visitors a way to stay in touch
Most people who visit will not book on the first visit. Give them one useful, specific reason to leave an email: a worksheet, a short guide, a five-day email course. "Download my free 1-page values worksheet" works better than "Join my newsletter".
- Put the offer on its own landing page, with a form that adds subscribers.
- Write a short welcome sequence: deliver the resource, tell a story, invite them to book. Our welcome email sequence guide has five emails to adapt.
- Link the landing page from your homepage, your link in bio and the end of every blog post.
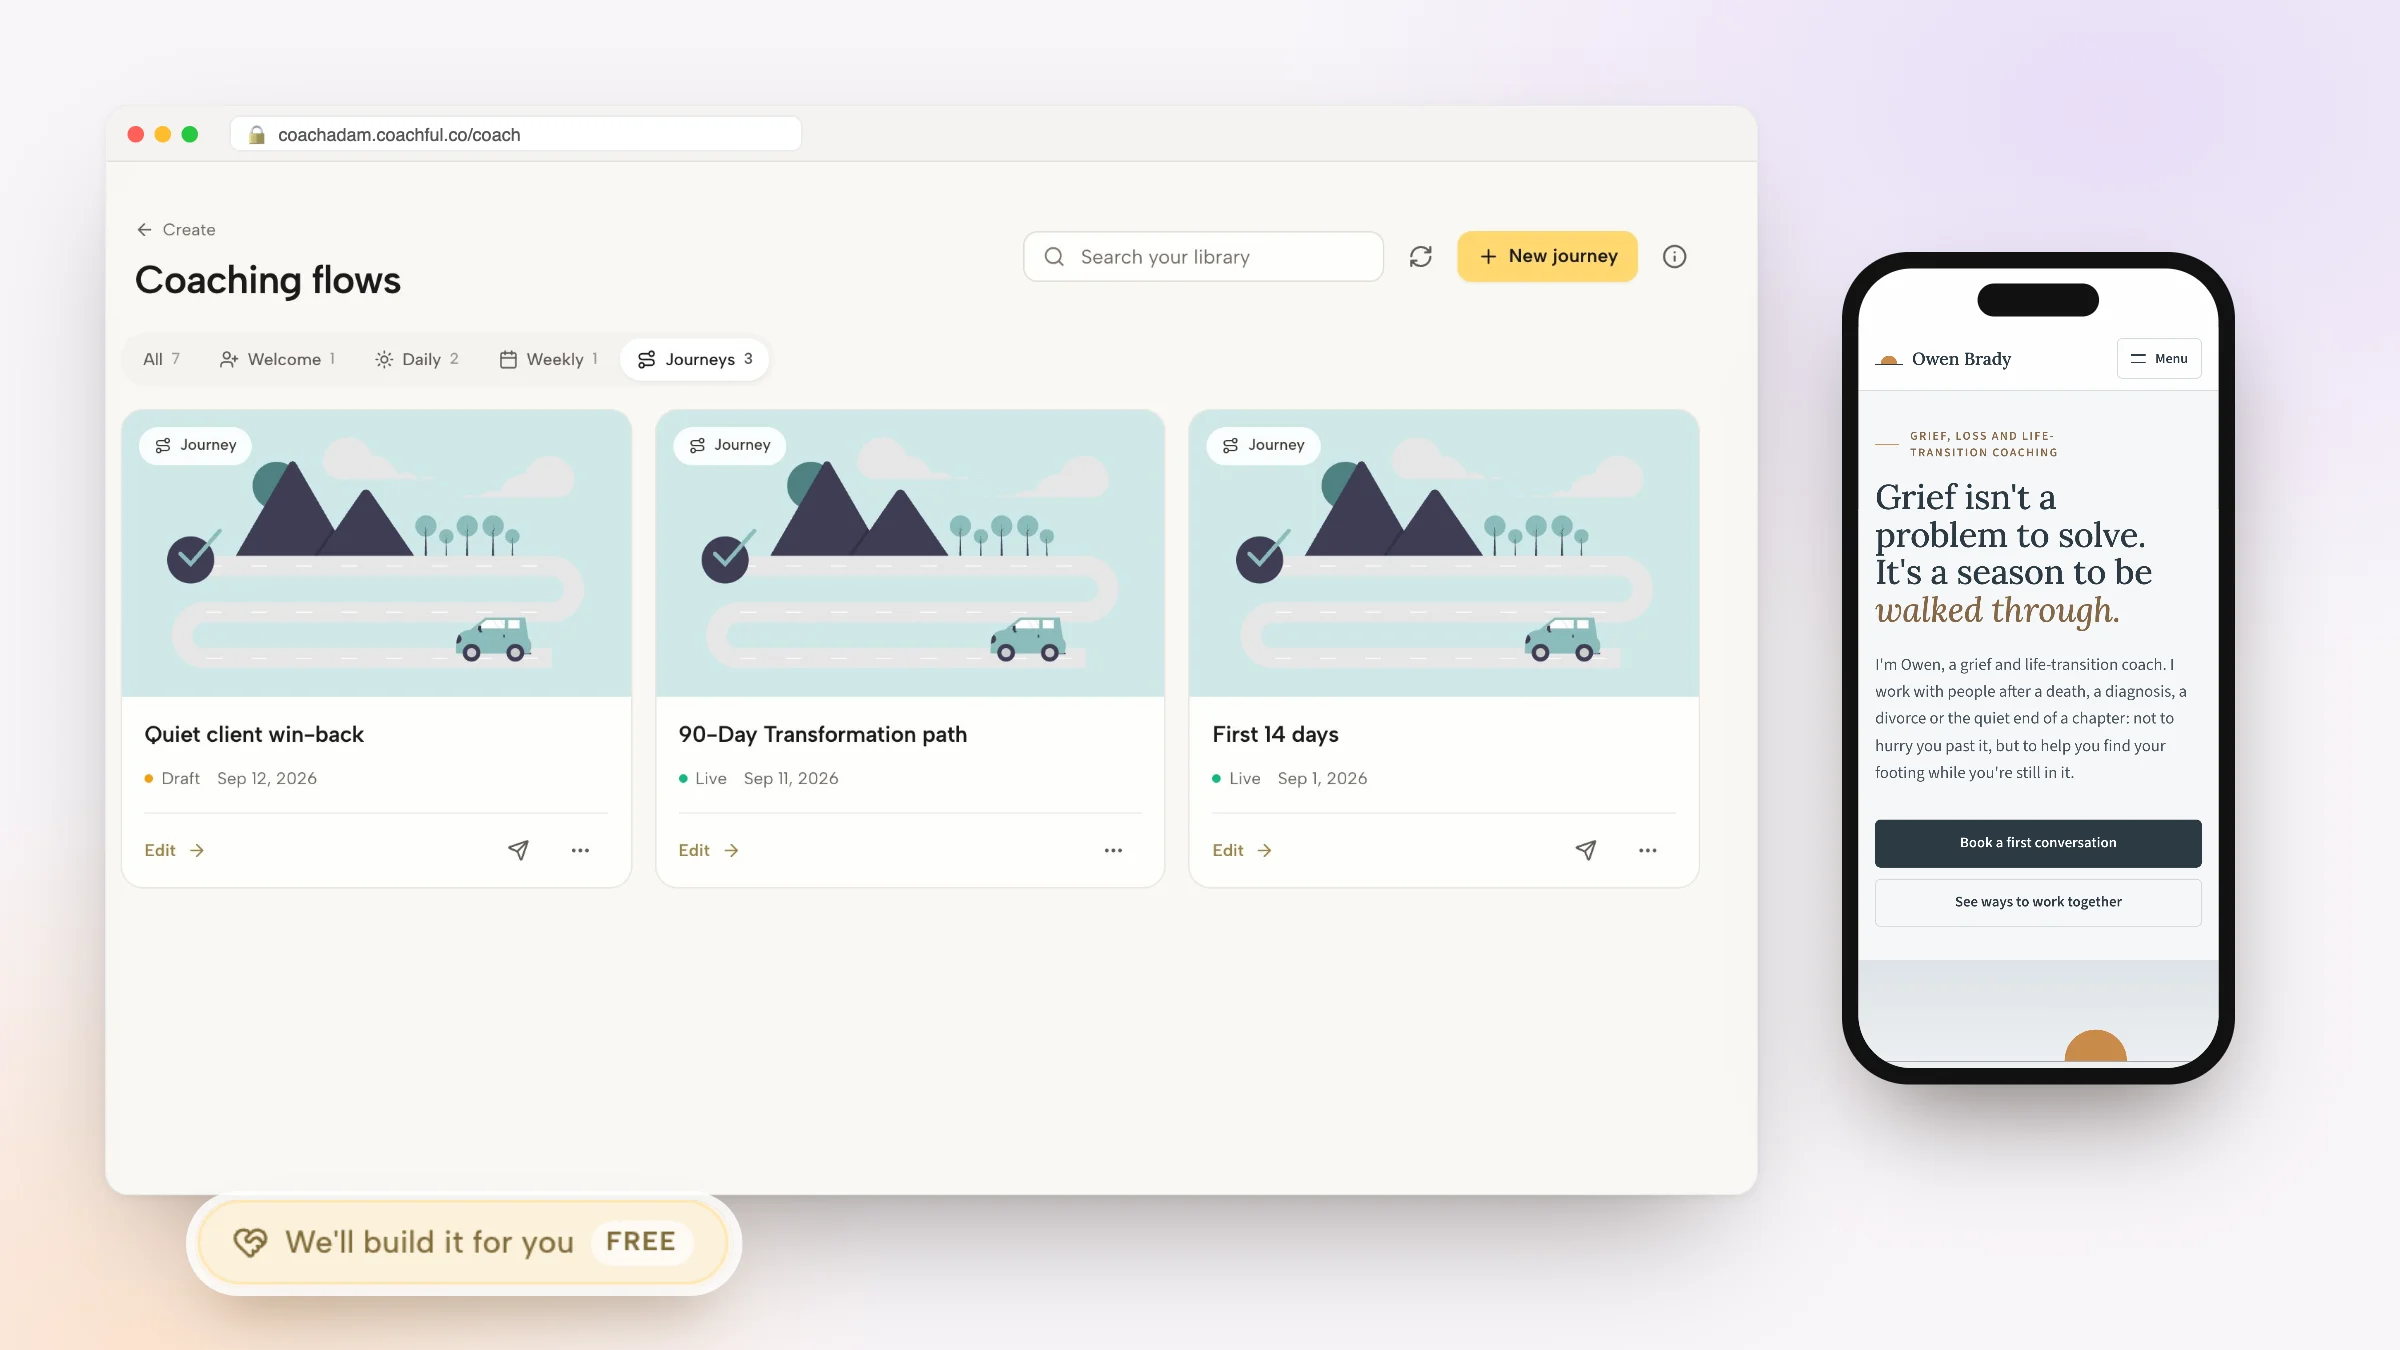
Coachful runs this as a funnel: a lead-magnet page, the delivery, an email sequence and a booking step, with Meta Pixel, GA4 and UTM tracking if you advertise. There are about 25 funnel templates to start from, and our discovery call funnel guide walks through one end to end.

Step 10: Search basics, legal pages, test and launch
Search basics
- Give every page its own title and description that says who it is for: "Career coaching for new managers in tech | Your Name".
- Name your images and write alt text that describes them.
- Hide thank-you and test pages from search. In Coachful you choose, per page, whether it shows in the menu, stays unlisted or is hidden from search engines, and hidden pages are left out of your sitemap.
- Plan your first two blog posts around questions your clients actually type. Starting a coaching blog covers how to pick them.
Legal pages
Add a privacy policy and terms, linked from the footer, and make sure forms ask for consent before saving anyone's details (Coachful's contact and newsletter forms do this). If you work in a regulated area, have a professional check the wording.
The launch test
On your phone, with your laptop closed, do this in one sitting: open the site from a link as a stranger would, book your own free call, pay for your cheapest offer and refund it, download your free resource and check the first email, then tap every button in the menu and footer. Fix anything that made you hesitate. Our coaching website audit checklist is a good second pass a month later.
Launch day
Connect your domain, then change the link in every place people find you: Instagram and LinkedIn bios, your email signature, your Google Business Profile, directory listings and podcast show notes. Tell your email list and a few past clients in a short, personal message.
After launch: the first 30 days
A website gets better from evidence, not taste. Each week for the first month, look at three things: which page people land on, how many of them reach your booking page, and how many book. If people arrive but do not book, the problem is usually the first screen or the offers section. If they reach the booking page and leave, it is usually the available times or the intake questions. Change one thing a week, so you know what worked.
Then set a monthly half hour to refresh testimonials, add a blog post and check your booking links. That is the whole maintenance plan for most coaching websites.

Or skip the steps: have Coachful's team build it, free
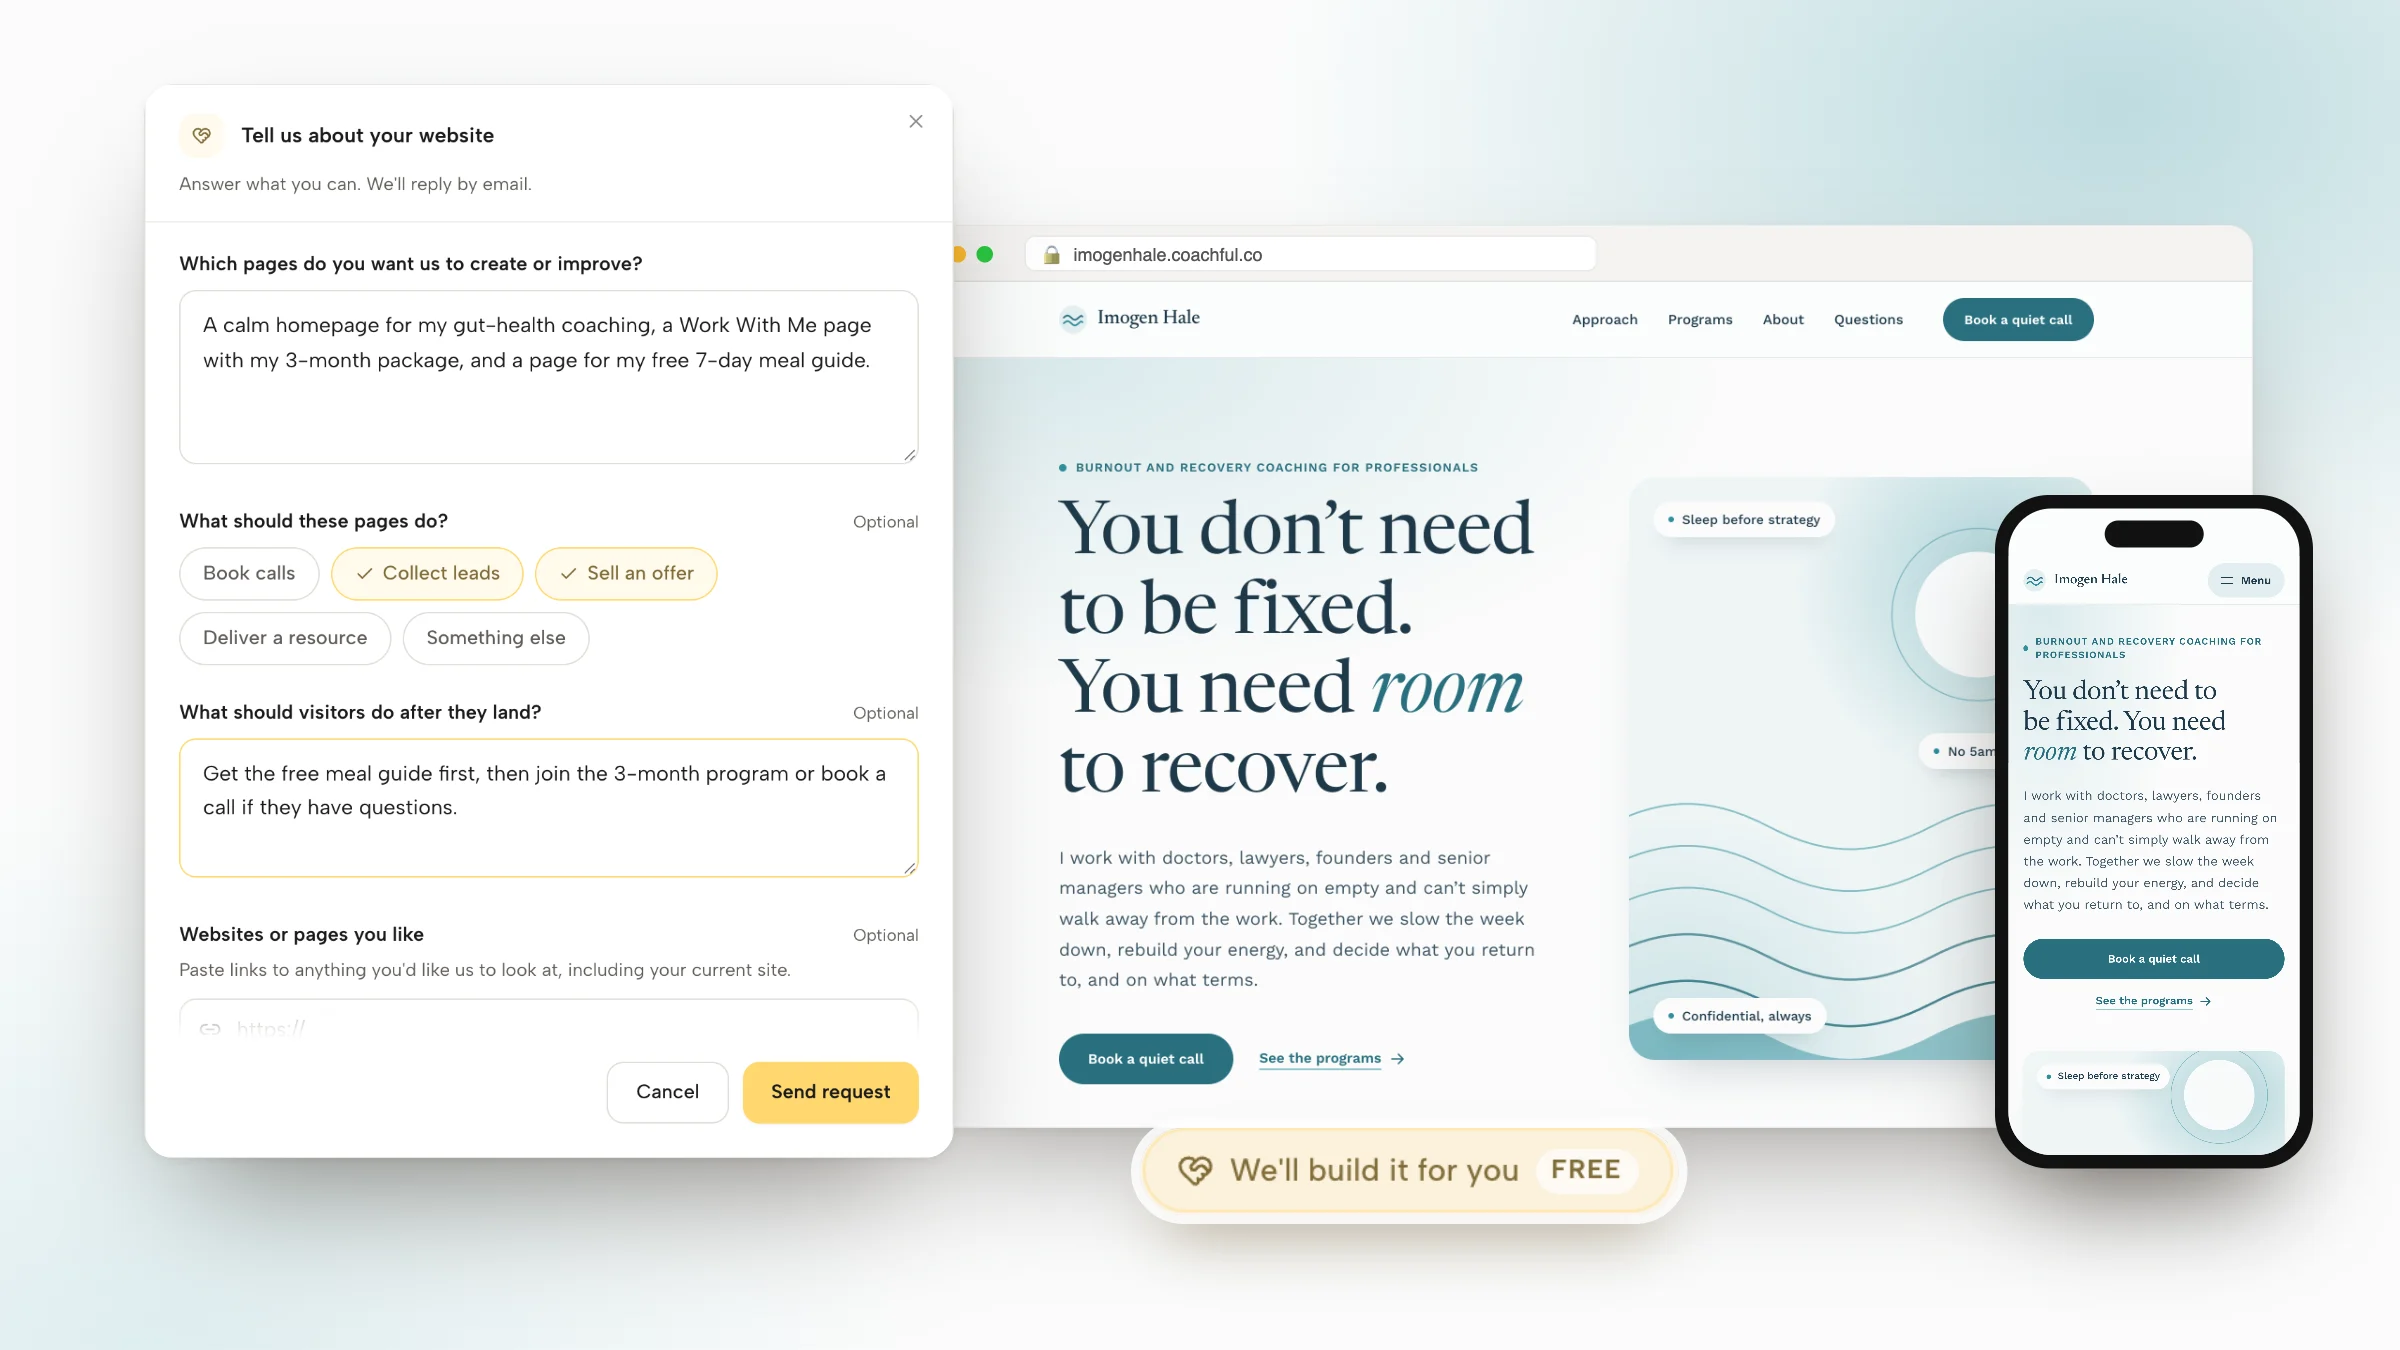
Why Coachful stands out: a free white-glove service. Every Coachful plan includes a build service at no extra cost. Steps 5 to 10 are exactly what the Coachful team does for you, inside your own account, usually within about 24 hours.
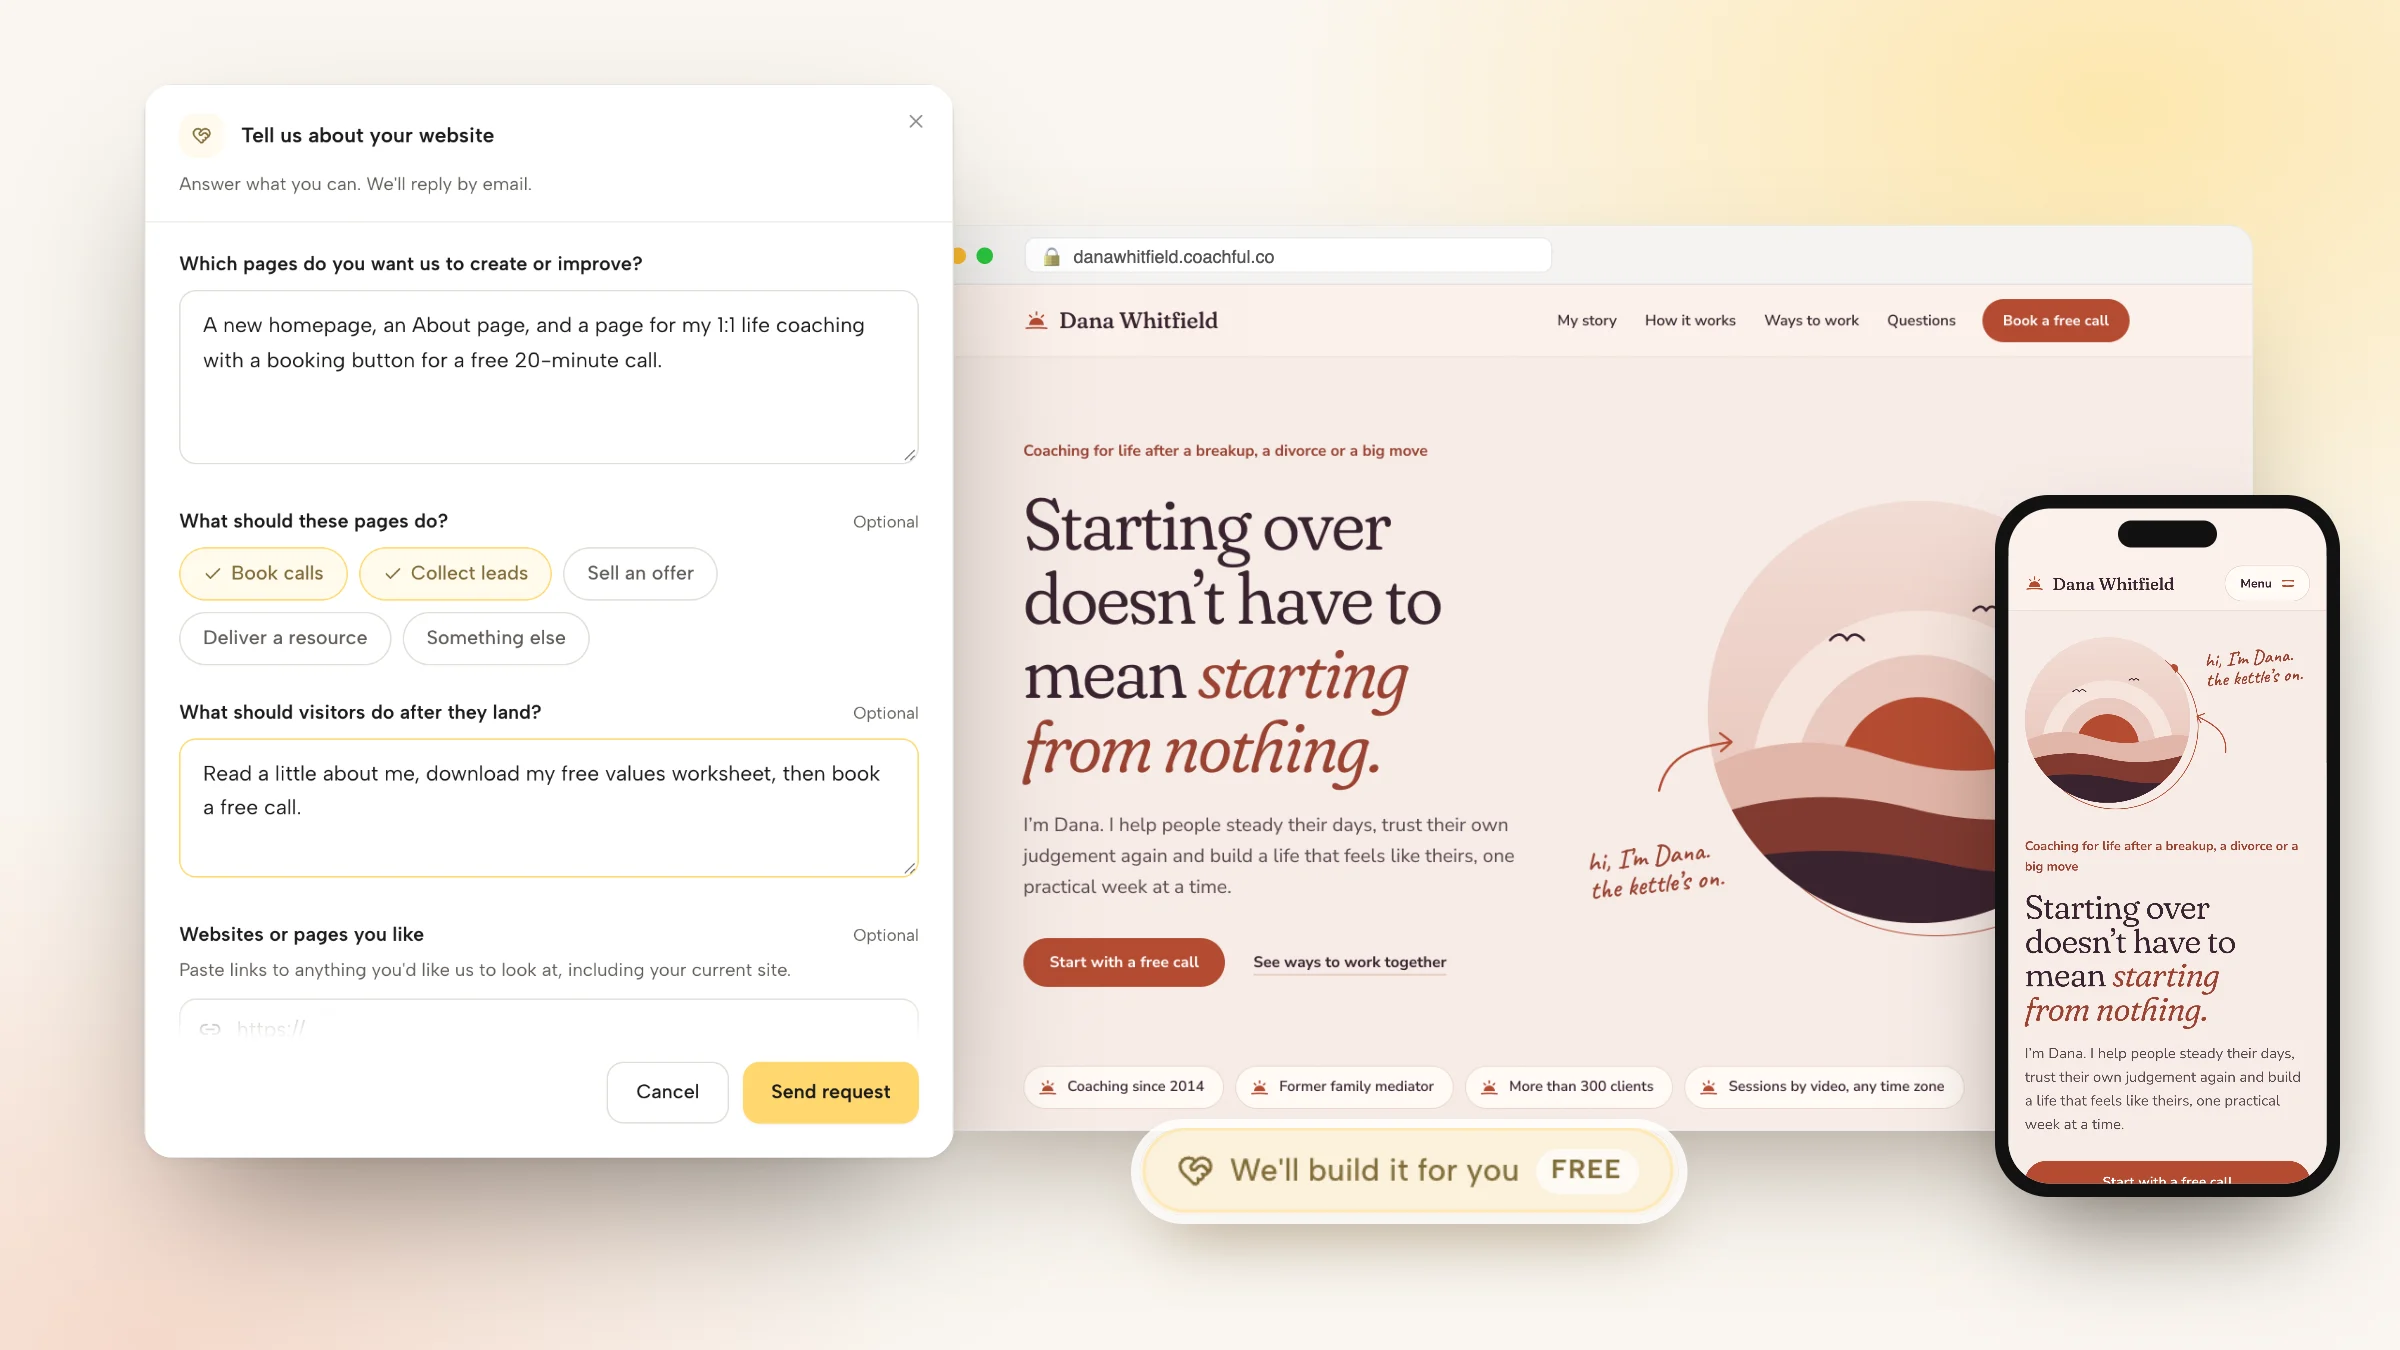
On the Website page, press Fill in a form on the Want us to build it for you? card, or open Create > We'll build it for you · FREE. The website form asks which pages to create or improve, what they should do (book calls, collect leads, sell an offer, deliver a resource), what visitors should do after they land, sites you like, what to include, and what feels broken. Add up to 8 reference links and up to 10 files: your logo, photos, copy document, brand guide. Your answers to Steps 1, 2 and 5 above are the perfect brief.

The team replies by email with next steps and builds the pages so you can edit them afterwards with the normal editors. Recent examples: an author and speaker got five pages built from their own copy document and photos, a new welcome homepage, a free community signup page and a book page that waits for the book to launch. A somatic coach leaving Kajabi had the homepage and About page rebuilt from the old theme, with testimonials and numbers that had been images turned into real text, and the contact form now feeding Coachful. The team invents nothing, so missing details are left for you, and they do not design logos or record videos. Read what the free build includes, or see the Coachful coaching website page for every feature.
Frequently asked questions
How long does it take to build a coaching website?
A five-page starter site takes most coaches two weekends if the materials are gathered first: one weekend for the promise, photos, testimonials and offers, one for building, booking and testing. Starting from a designed template shortens the building part. Coachful's free build service usually replies with next steps within around 24 hours.
What pages does a coaching website need to start?
Five: Home, About, Work with me, Book a call and Contact, plus privacy and terms in the footer. Add a FAQ and a blog or newsletter next. Every page should end with the same primary action, usually booking a call or downloading a free resource.
Do I need a designer to build a coaching website?
No. A template made for coaches gives you type, colour and layout chosen for your audience, and you edit the words. Hire a designer when the brand itself is part of what you sell, such as a speaker or author with a launch date. Coachful's 30 templates and free build service cover most coaches.
What is the best platform to build a coaching website on?
The one where booking, payments, email and client records live with your pages, so nothing has to be copied between tools. General builders give more design freedom; coaching platforms connect the site to the coaching. Coachful includes the website, booking, offers, funnels and email in one membership.
Can I build a coaching website for free?
Some builders have free plans with their branding and limits, and you will still need booking and payments. Coachful is a paid membership with a free trial, and its website is included in every plan. What is free is the white-glove service: Coachful's team builds your site for you at no extra cost.
How do I get clients to book from my coaching website?
Put one clear booking button in the first screen and repeat it after your offers and testimonials, show live availability in the visitor's time zone, keep the intake to two or three questions, and tell people what the call is. Test it on your phone before launch.
Will Coachful build my coaching website for me?
Yes, free on every Coachful plan. Fill in the website form from the Website page or Create > We'll build it for you, attach your logo, photos and copy, and the team builds the pages in your account, usually within about 24 hours. You can edit everything afterwards.